Category: Meals

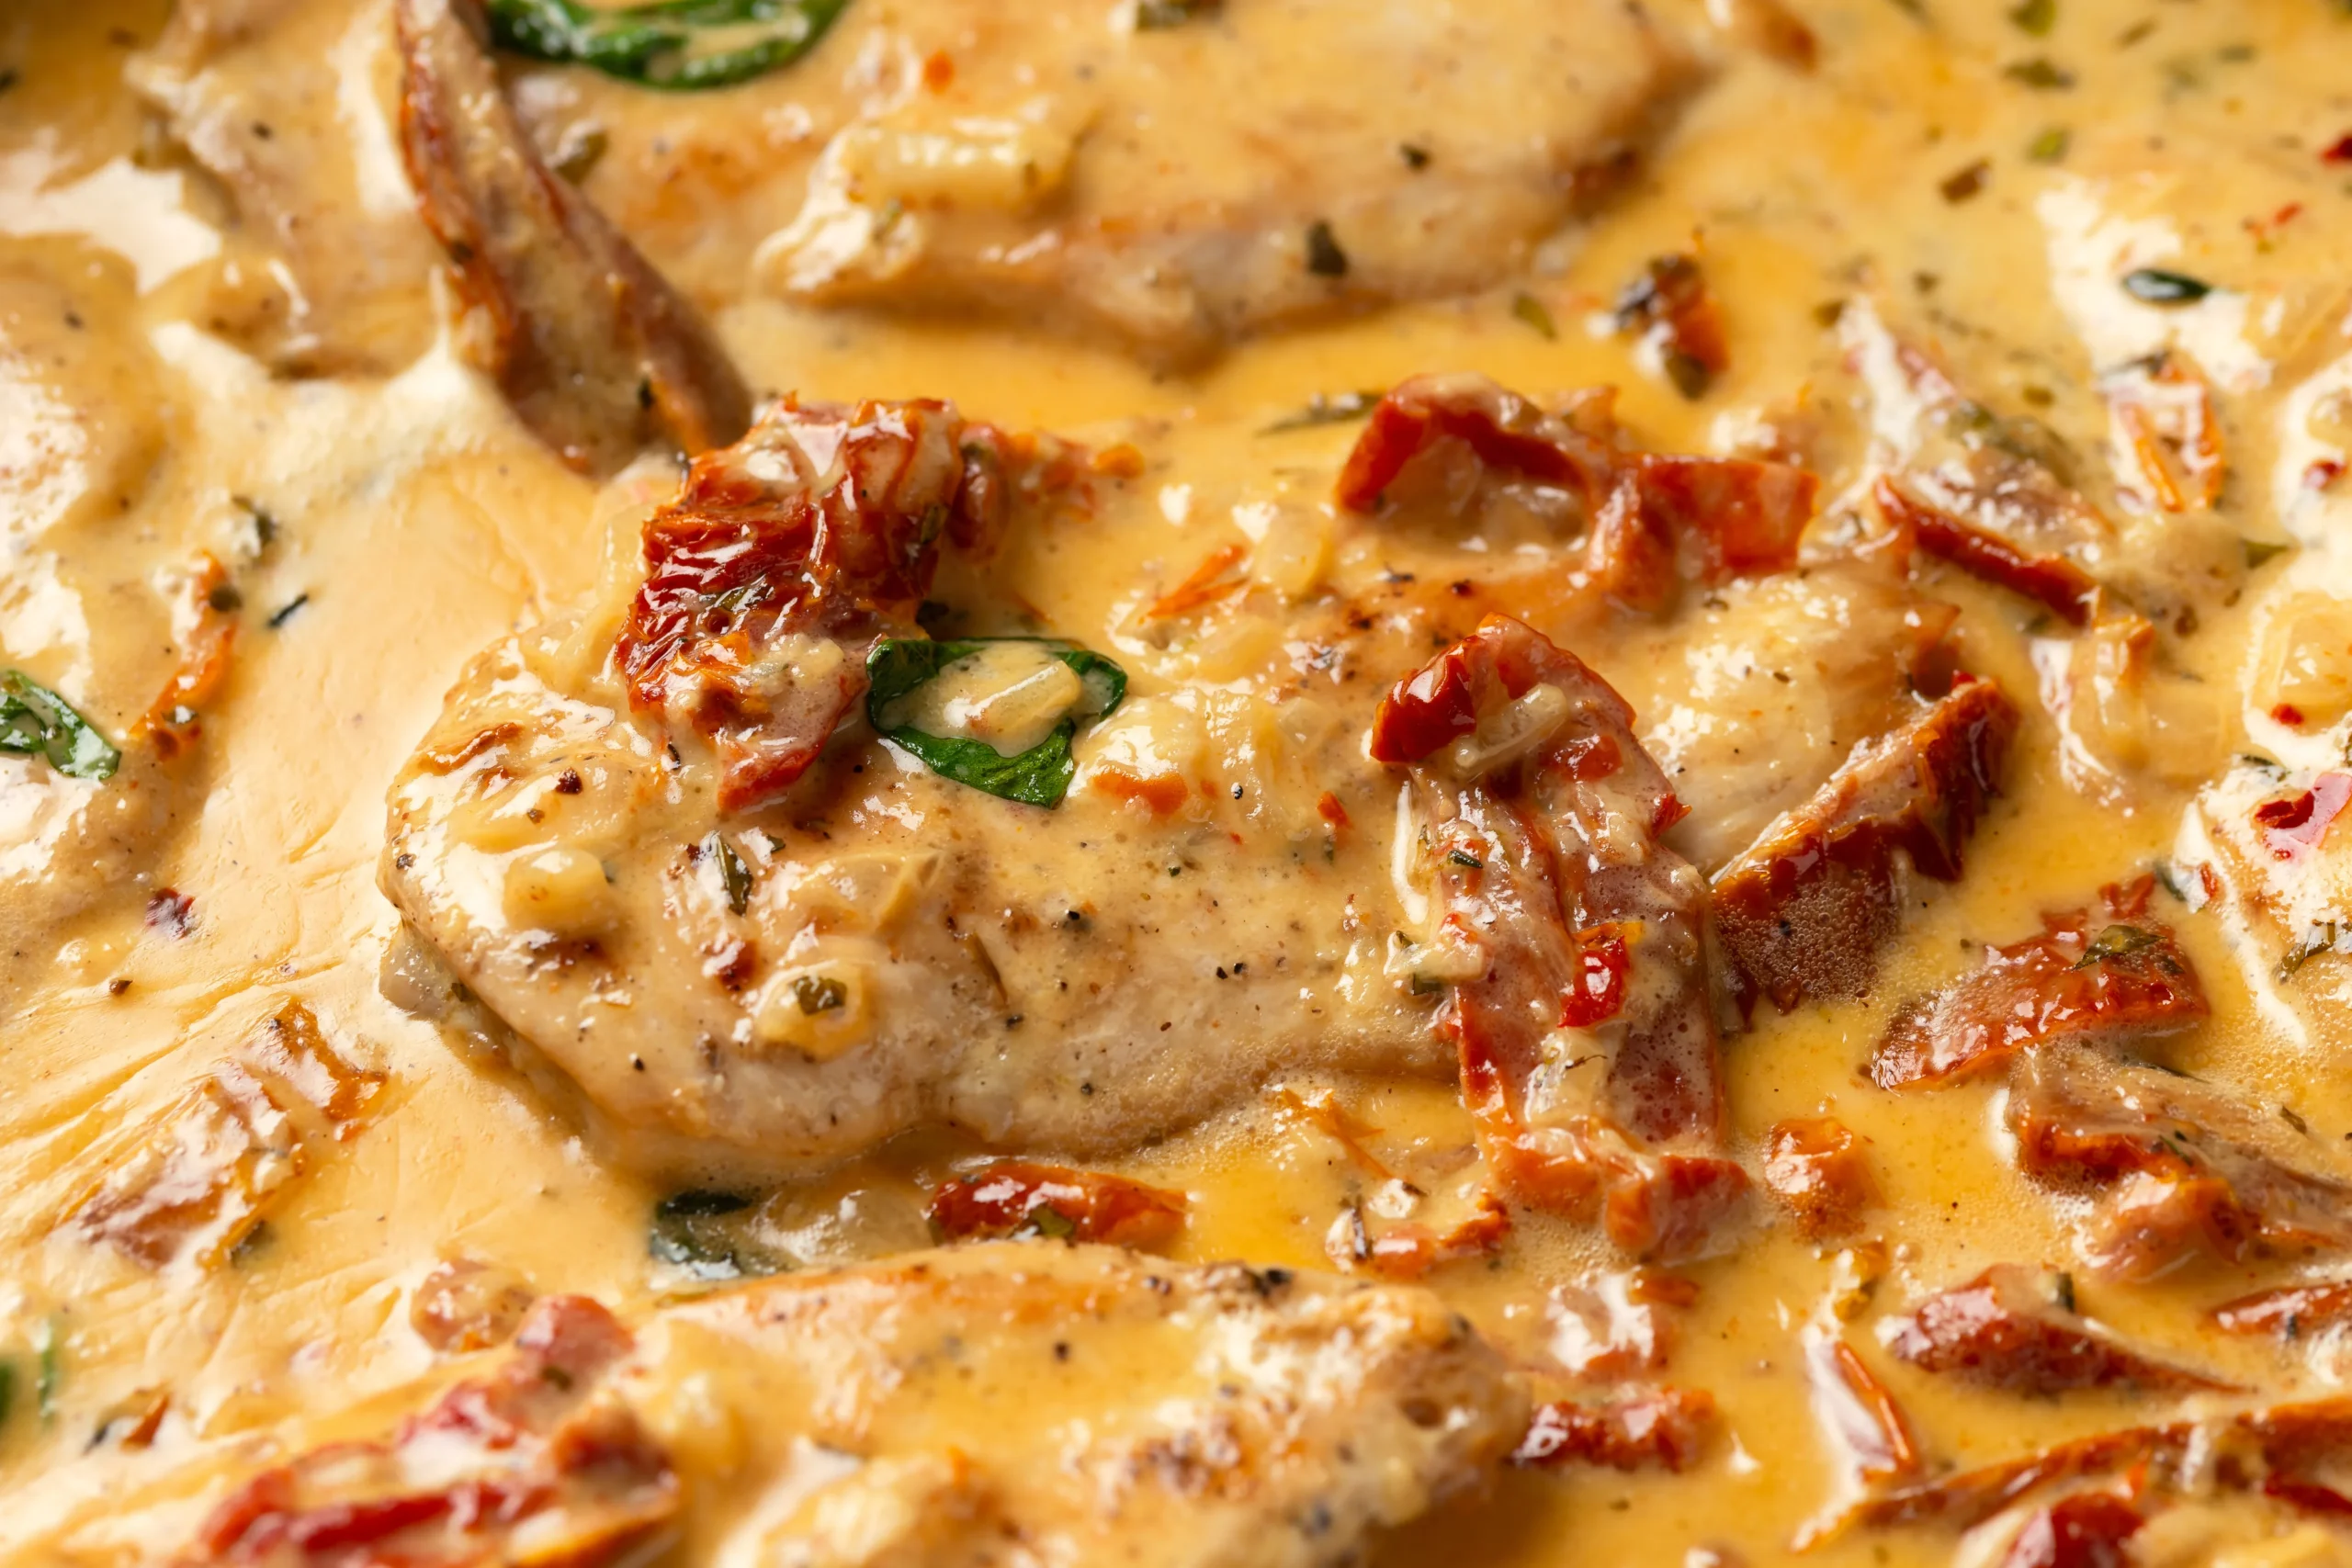
  • Marry Me Chicken, Reworked

    Marry Me Chicken, Reworked

    Traditional Marry Me Chicken starts with chicken breasts—halved, pounded, and browned—then finishes them in a creamy sun-dried-tomato sauce. It makes a lovely dinner for two. This version starts with a chicken that has already given us one meal.

    Shred both breasts from a rotisserie chicken and fold them into the finished sauce. With no raw chicken to brown, the work of the pan is flavor: sun-dried tomatoes warmed in butter, tomato paste cooked until it darkens slightly, then garlic, homemade chicken stock, herbs, lemon zest, spinach, and cream.

    Take the skillet off the heat before stirring in Parmesan and Dijon. Tear in the basil at the end so it stays fresh. Spoon the sauce over rice, pasta, or noodles. The skillet feeds four—or two tonight, with dinner already made for another evening.

    Ingredients

    • Shredded meat from both breasts of 1 rotisserie chicken
    • 2 tablespoons unsalted butter
    • 1 cup water-packed sun-dried tomatoes, drained and finely chopped
    • 2 tablespoons tomato paste
    • 1 tablespoon minced or crushed garlic
    • 1 cup homemade chicken stock
    • 6 fresh basil leaves, torn, plus 6 more for finishing
    • 1–2 teaspoons dried oregano, depending on its pungency
    • 1 teaspoon crushed red pepper flakes, optional, or more to taste
    • Zest of 1 lemon
    • 2 cups spinach leaves, roughly chopped
    • ½–¾ cup heavy cream
    • ½ cup grated Parmesan, or up to 4 ounces for a richer sauce
    • 1 tablespoon Dijon mustard, or more to taste
    • Cooked rice or pasta, for serving

    Method

    1. Set a large skillet over medium heat.
    2. Melt the butter. Add the sun-dried tomatoes and cook, stirring, until heated through.
    3. Stir in the tomato paste and cook for about 1 minute, until it darkens slightly. Add the garlic and cook just until fragrant.
    4. Pour in the chicken stock. When it begins to simmer, add 6 torn basil leaves, the oregano, red pepper flakes, and lemon zest.
    5. Add the spinach and stir until it wilts into the sauce.
    6. Stir in ½ cup of the cream and return the sauce to a gentle simmer. Add more cream as needed to reach the consistency you prefer.
    7. Fold in the shredded chicken and cook just until it is heated through. Remove the skillet from the heat.
    8. Stir in the Parmesan and Dijon until the cheese has melted into the sauce. Add the remaining torn basil leaves. Taste and adjust with more Dijon or red pepper flakes if desired.
    9. Spoon over cooked rice or pasta and serve.

    Why This Method

    The chicken is already cooked, so the sauce is built before the meat goes into the pan. Sun-dried tomatoes warm in butter, tomato paste darkens, and garlic releases its aroma before stock and cream dilute them.

    The chicken goes in near the end so it heats through without drying out. Parmesan and Dijon are stirred in off the heat, where they can thicken and sharpen the sauce without boiling. The basil waits for the same reason, so it stays fresh.
  • Chicken Verde Enchiladas

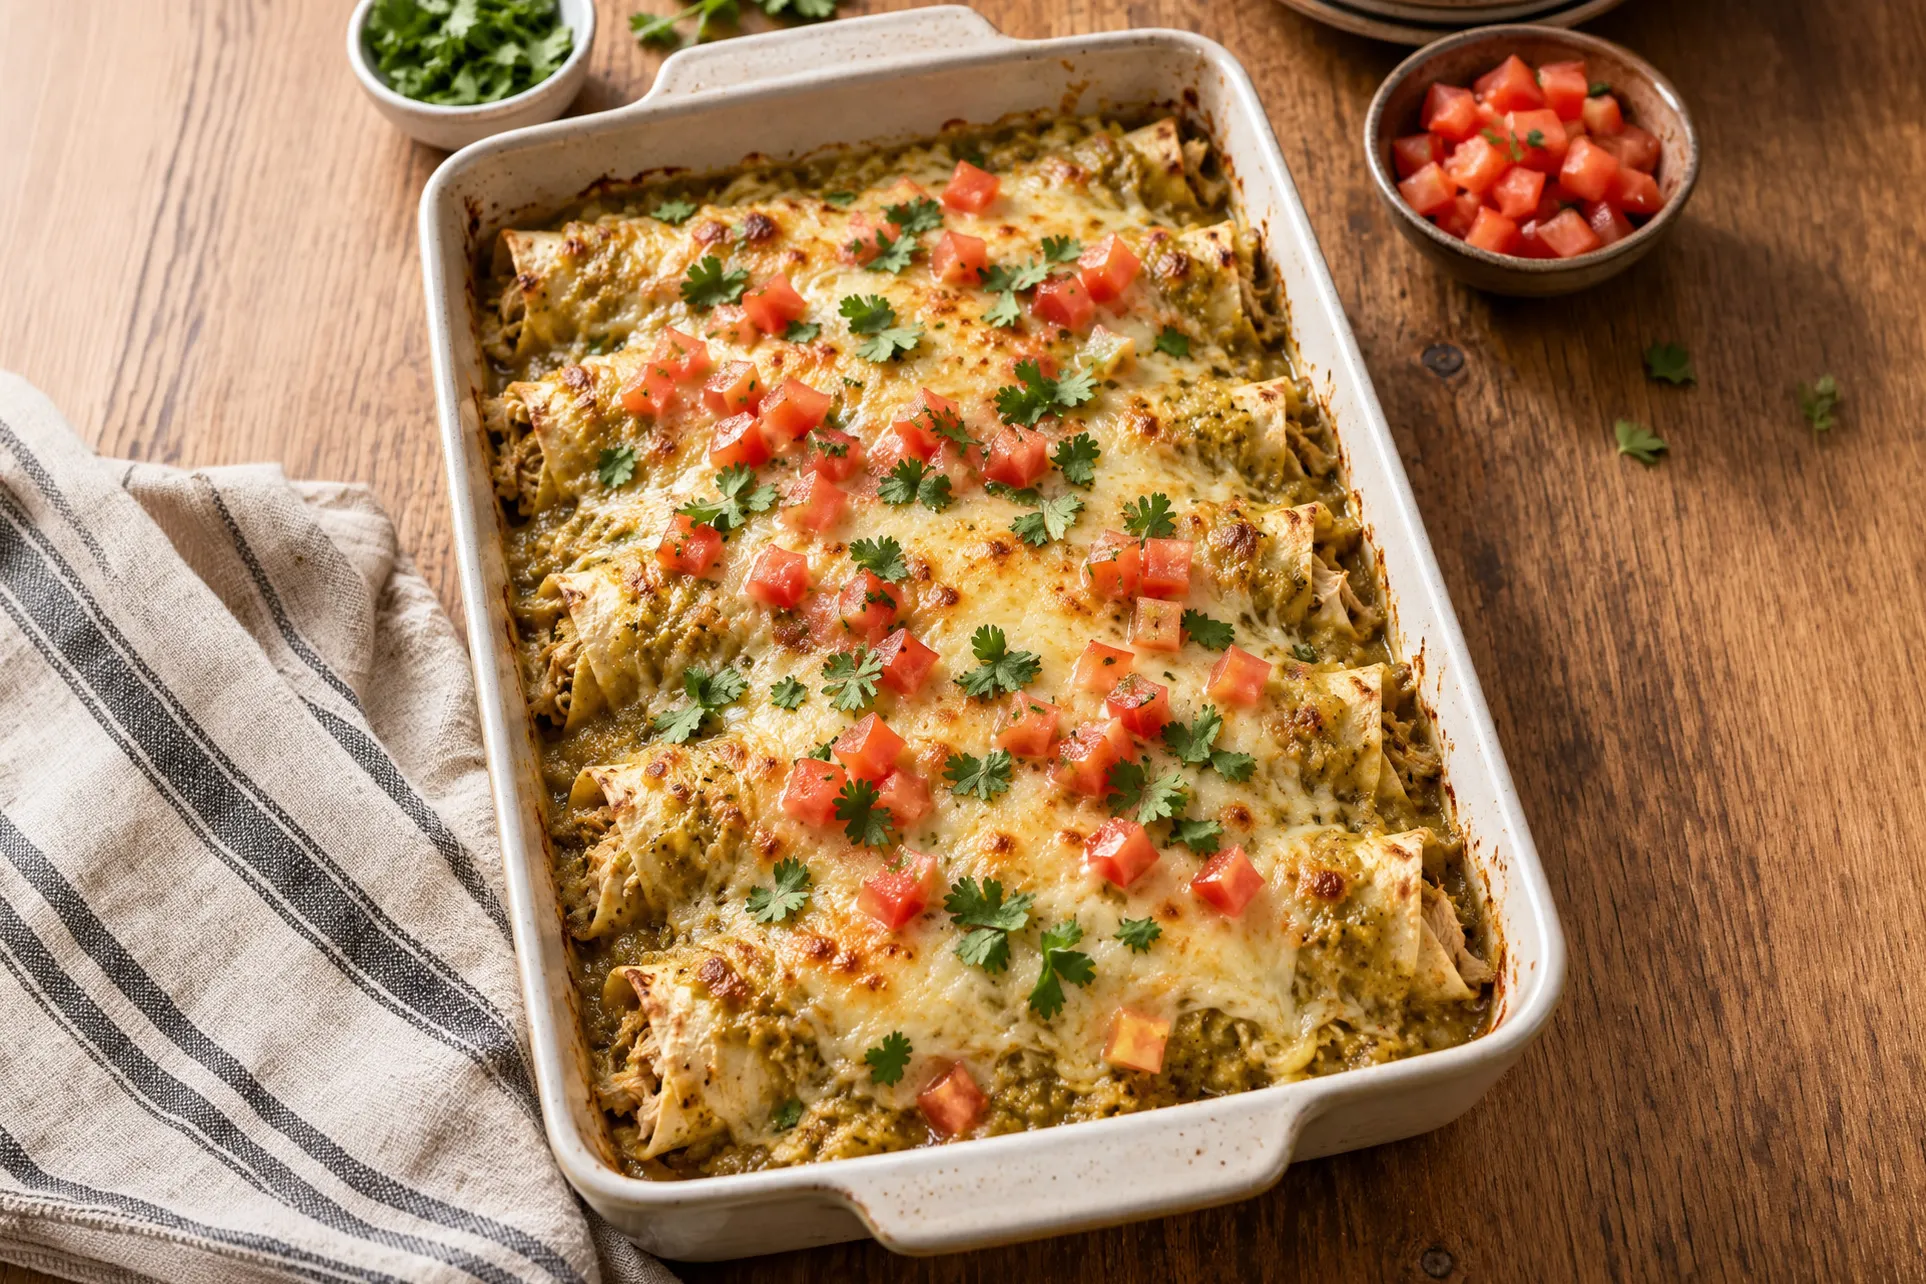
    Chicken Verde Enchiladas

    These enchiladas start with what is already on hand: a breast from a rotisserie chicken, a can of diced Hatch chiles, and corn or flour tortillas warmed on a comal. A thin layer of refried or black beans gives each tortilla a base. Shredded chicken and mozzarella fill the rest.

    The sauce is deliberately unconventional—green enchilada sauce mixed with sour cream and cream of chicken soup. It is creamy enough to cling to the tortillas and generous enough to leave some behind for another meal. Homemade chile powder and cumin can deepen a canned sauce. Both are optional.

    About five generously filled tortillas fit in a standard casserole dish. The exact number depends on how heavily they are stuffed, which is part of the point.

    Ingredients

    Tortillas and Filling

    • Corn tortillas, enough to fill the casserole dish (flour tortillas may be substituted)
    • Refried beans or drained black beans, enough for a thin layer on each tortilla
    • Shredded meat from 1 large rotisserie-chicken breast, or more as desired
    • 1 small can diced Hatch chiles, mild or hot
    • 8 ounces Monterrey Jack cheese, grated

    Sauce

    • 24 ounces canned green enchilada sauce
    • 1 cup sour cream
    • 1 standard can (10½ ounces) condensed cream of chicken soup
    • Homemade chile powder, optional, to taste
    • Ground cumin, optional, to taste

    Topping

    • Mexican-blend cheese, enough to cover the enchiladas
    • 1–2 Roma tomatoes, chopped
    • Fresh cilantro, chopped

    Method

    Heat the oven to 375°F. Have a standard casserole dish ready.

    1. Whisk the green enchilada sauce, sour cream, and cream of chicken soup until smooth. Taste, then add chile powder or cumin if you want.
    2. Mix the shredded chicken with the Hatch chiles. Keep the grated mozzarella at hand for filling; save what is left for the topping.
    3. Warm the tortillas on a comal until soft and flexible.
    4. Spread a thin layer of sauce over the bottom of the casserole dish.
    5. Spread each tortilla with a thin layer of refried beans, or scatter drained black beans over it. Add the chicken mixture and some of the mozzarella. Roll and place seam-side down in the dish. Repeat until the dish is full—usually about five generously stuffed tortillas.
    6. Spoon more sauce over the enchiladas, coating them well and reserving whatever you do not need. Bake uncovered for about 30 minutes.
    7. Remove the dish from the oven. Combine any remaining mozzarella with enough Mexican-blend cheese to cover the enchiladas. Scatter the cheese, chopped tomatoes, and cilantro over the top.
    8. Return the dish to the oven and bake until the cheese is melted and beginning to brown, about 15 minutes.

    Why This Method

    Warming the tortillas on a comal makes them flexible enough to roll without tearing, especially corn. A thin layer of beans gives the chicken and cheese a base and helps keep the filling in place.

    Baking in two stages lets the enchiladas heat through before the last layer of cheese goes on. The topping can then melt and brown without sitting in the oven for the full bake.

    Use the Extra Sauce

    The sauce recipe is intentionally generous. Set aside whatever the enchiladas do not need and save it for another meal. Spread it over a leftover tortilla in place of the beans—or use it with them—add whatever breakfast filling is on hand, and roll. What begins as extra sauce becomes the start of the next meal.

  • Pressure-Cooker Rotisserie Chicken Stock

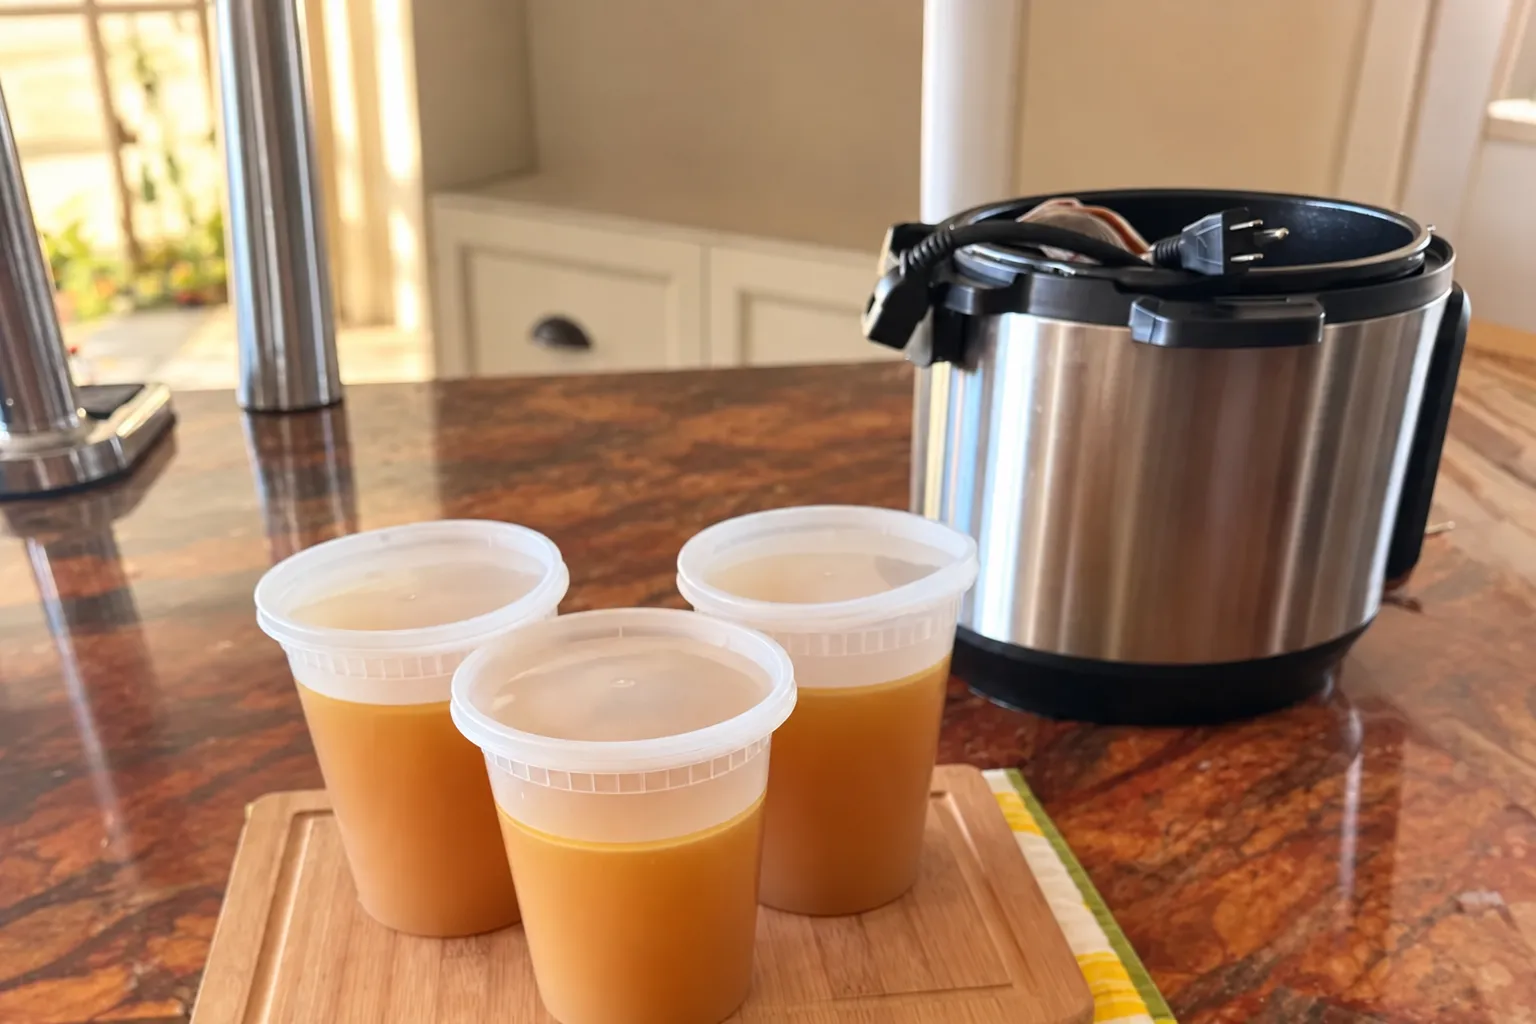
    Pressure-Cooker Rotisserie Chicken Stock

    A rotisserie chicken does not end with the first meal. After you pull off the meat you want for dinner, put the rest of the carcass—skin, bones, and whatever meat remains—into the pot and turn it into stock.

    This version starts by lightly browning onion, carrot, and celery in the pressure cooker. That small step builds a deeper base before the chicken and water go in. Using two quarts of water makes a richer stock; add more only when enough meat is left on the bird to support a larger batch.

    Leave out the salt and herbs. The rotisserie chicken is already seasoned, and a neutral stock can be adjusted later to suit the soup, sauce, or casserole.

    Ingredients

    • Olive oil, enough to lightly coat the bottom of the pot
    • ½ onion, diced
    • 1 carrot, sliced into rounds
    • 1 celery stalk, sliced
    • 2 garlic cloves, finely chopped
    • Carcass, skin, and remaining meat from 1 rotisserie chicken, pulled into pieces
    • 2–3 quarts water, depending on the amount of chicken and desired concentration

    Method

    1. Set the Instant Pot to Sauté and add enough olive oil to lightly coat the bottom. Add the onion, carrot, and celery. Cook, stirring occasionally, until the onion begins to brown lightly.
    2. Add the garlic and stir just until fragrant.
    3. Add the chicken carcass, skin, and remaining meat. Pour in 2 quarts of water for a richer stock. Add more water for a larger batch when enough meat remains on the chicken, without exceeding the pressure cooker’s maximum-fill line.
    4. Cancel the Sauté setting and secure the lid. Cook on High Pressure for 40 minutes.
    5. Allow the pressure to release completely on its own—usually about 20 minutes. Wait until the float valve has dropped before opening the lid.
    6. Remove the largest pieces of chicken, bone, and vegetables with tongs or a slotted spoon.
    7. Pour the stock through a fine-mesh strainer into a heatproof container.
    8. Let the stock cool, then divide it among freezer-safe 1-quart containers, leaving room for expansion. Cover, label, and freeze.

    Why This Method

    Pressure cooking pulls flavor and body from the carcass quickly, but the sauté still matters. Lightly browning the onion, carrot, and celery first builds a deeper base before the chicken and water go in.

    The water sets the concentration. Two quarts produce a richer stock. More water produces a larger, lighter batch.

    A Quart at a Time

    One quart is four cups—the amount used in the Rotisserie Chicken Pot Pie Casserole. Freeze the stock in one-quart containers and it becomes a ready ingredient instead of something to measure later. Left unsalted and unseasoned, each container can take on the character of whatever comes next.

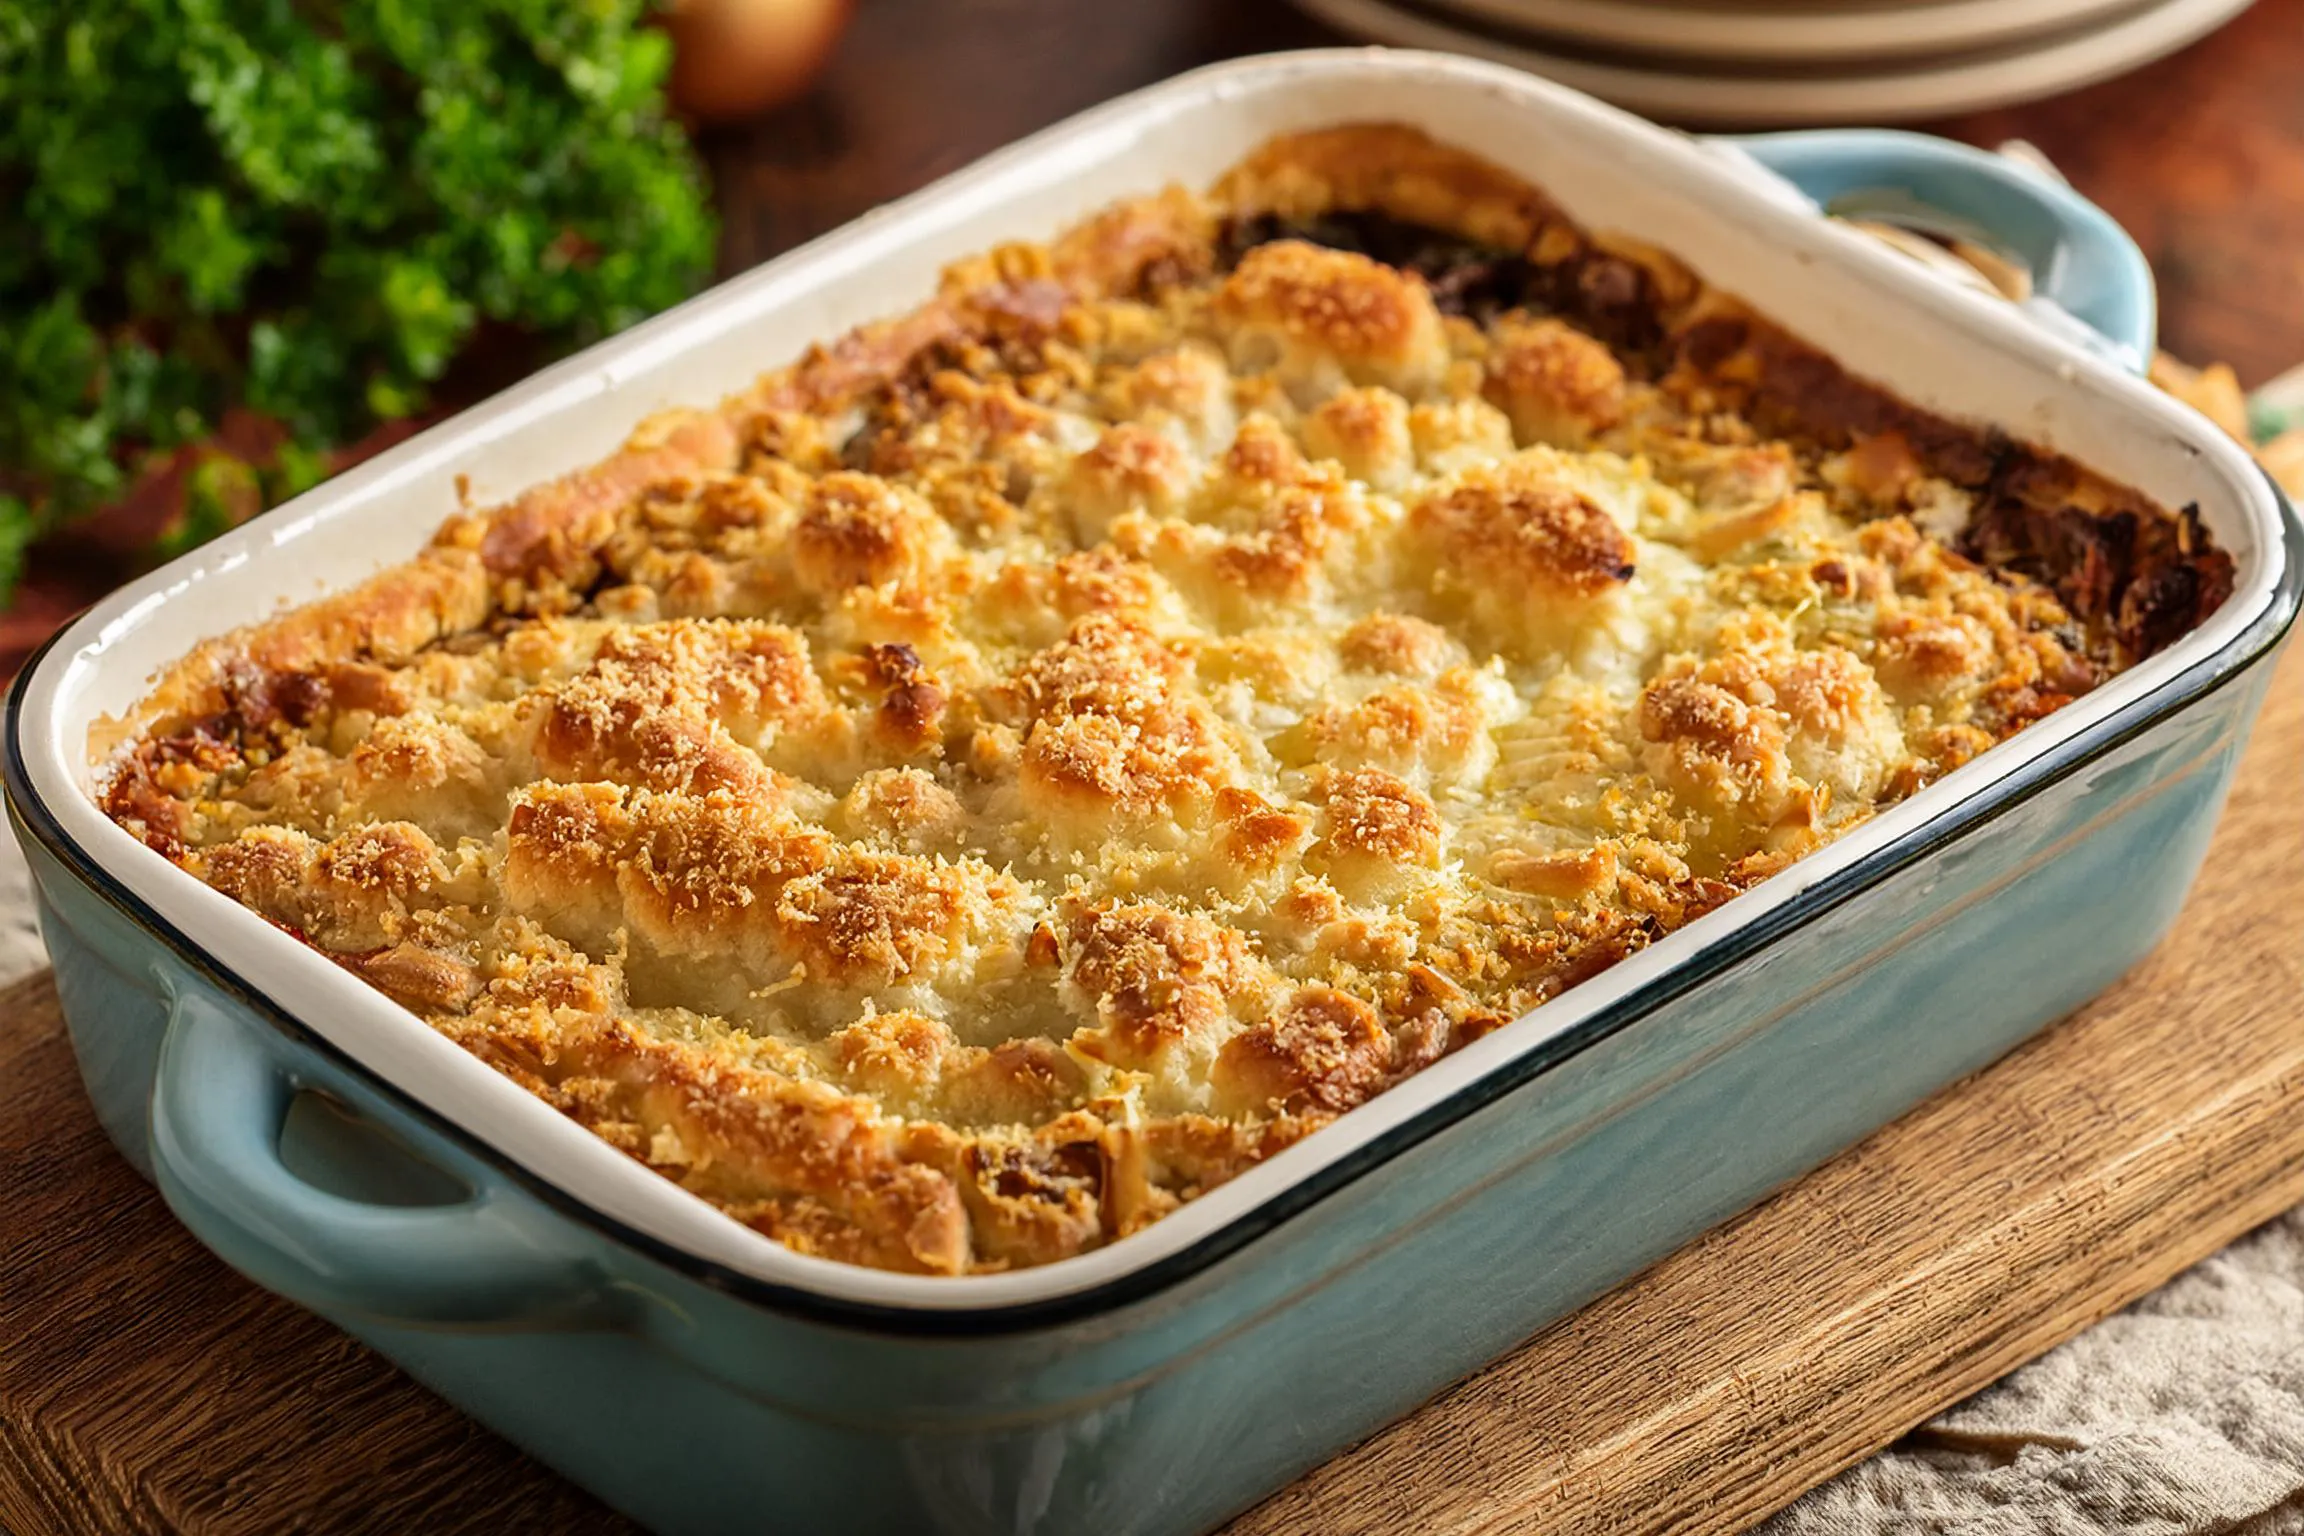
  • Rotisserie Chicken Pot Pie Casserole

    Rotisserie Chicken Pot Pie Casserole

    A rotisserie chicken can do more than one dinner. After the first meal, cube the remaining meat for this casserole and use the carcass to make several quarts of stock.

    This is pot pie in a more practical form—tender chicken, vegetables, and a creamy sauce folded through small pasta shells, then finished with crisp breadcrumbs. The idea is adapted from Chef John’s pot pie pasta bake. The shells go into the oven only about 80 percent Ncooked, leaving them firm enough to absorb flavor as they finish without requiring more stock than the casserole needs.

    Leftover Thanksgiving turkey slips into the same method. Nothing else changes.

    Ingredients

    • ½ cup unsalted butter
    • 1 onion, diced
    • 2–3 carrots, cubed
    • 3 celery ribs, chopped
    • 1 teaspoon salt, adjusted to the saltiness of the stock
    • ½ teaspoon freshly ground black pepper
    • ½ teaspoon dried thyme
    • ½ teaspoon garlic powder
    • 1 bay leaf
    • ½ cup all-purpose flour
    • 4 cups homemade chicken stock
    • 1 tablespoon Better Than Bouillon Roasted Chicken, optional
    • 1 cup frozen peas
    • ⅓ cup heavy cream
    • 3–4 cups cooked rotisserie chicken, cut into bite-size cubes
    • 1 pound small pasta shells
    • 1 cup panko breadcrumbs
    • ½ teaspoon salt, for the topping
    • 2 tablespoons unsalted butter, melted, for the topping

    Method

    Heat the oven to 375°F. Butter a deep 4½-quart baking dish.

    1. Melt ½ cup butter in a large Dutch oven over medium heat. Add the onion and cook until translucent. Add the carrots, celery, and 1 teaspoon salt. Stir in the pepper, thyme, garlic powder, and bay leaf and cook for 1 minute.
    2. Stir in the flour and cook, stirring, until it turns light golden, 2 to 3 minutes.
    3. Gradually whisk in the stock. Add the Better Than Bouillon, if using, and bring to a gentle simmer. Stir in the peas and cream and cook for about 10 minutes, until the carrots begin to soften and the sauce thickens.
    4. Stir in the chicken. Remove the bay leaf. Taste and adjust the seasoning.
    5. Meanwhile, boil the shells in salted water for about 80 percent of the package cooking time. Drain well.
    6. Fold the shells into the filling and transfer to the prepared baking dish.
    7. Toss the panko with ½ teaspoon salt and 2 tablespoons melted butter. Scatter evenly over the top.
    8. Bake uncovered for about 45 minutes, until bubbling and golden. Rest for 15 minutes before serving.

    Why This Method

    The pasta is deliberately undercooked. At about 80 percent, the shells retain enough structure to finish in the sauce, absorbing flavor without becoming soft. Because the pasta is already mostly cooked, four cups of stock provide enough liquid without leaving the casserole soupy. The 15-minute rest matters too: it allows the sauce to settle and the casserole to hold together when served.

    One Chicken, More Than One Meal

    The homemade stock in this casserole may come from the previous chicken; today’s carcass becomes the next batch. Pressure-cooked with the skin, bones, and accumulated juices, it can yield as much as three quarts of stock. Freeze it in measured portions, including four-cup portions ready for this recipe, and one meal quietly becomes the foundation for another.